Edit cutpoints (set color values)
Set custom cutpoints
- Click Change visualization type in the Change data menu.
- Select Cutpoints.
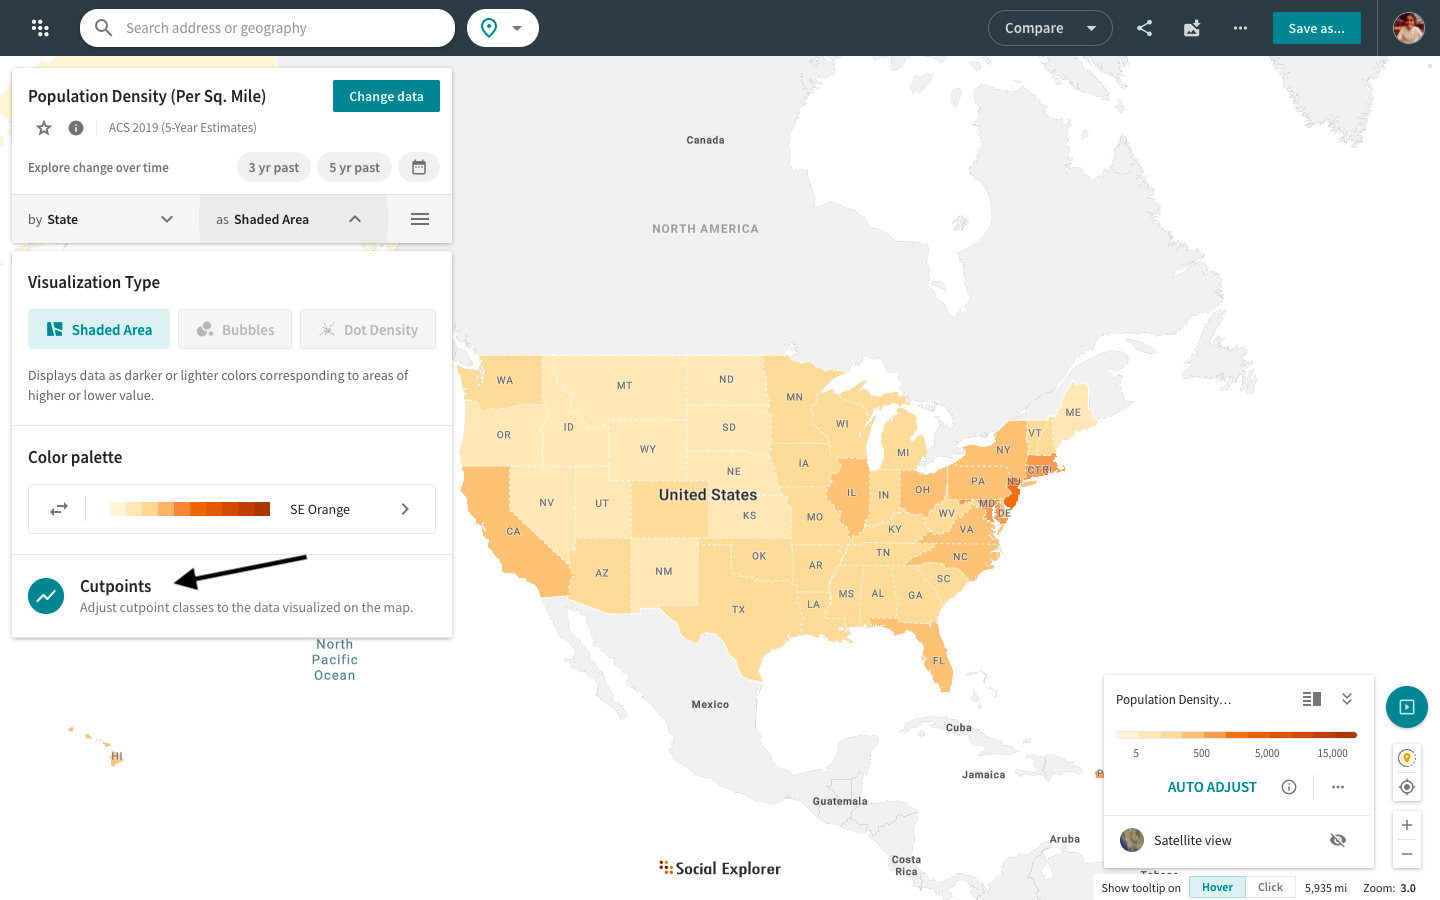
The map legend is now a separate component located in the bottom right corner of your screen. You can switch between different legend modes: minimized, maximized, detailed, and simplified. You can also edit your cutpoints and switch to satellite view or auto adjust your shaded area and bubble maps directly from the map legend.
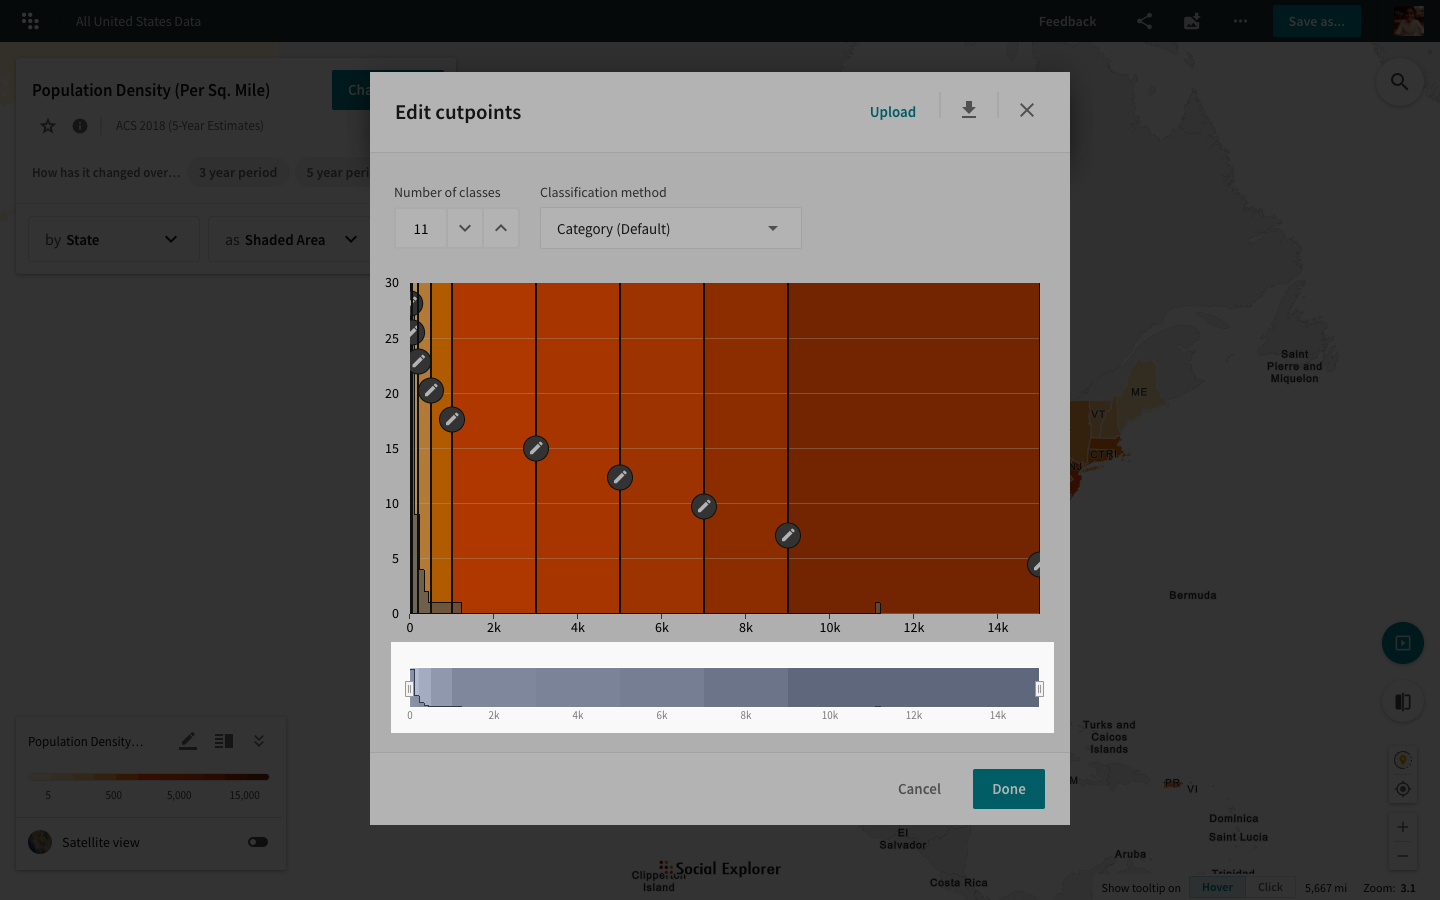
- Choose one of the available classification methods from the dropdown menu – or –
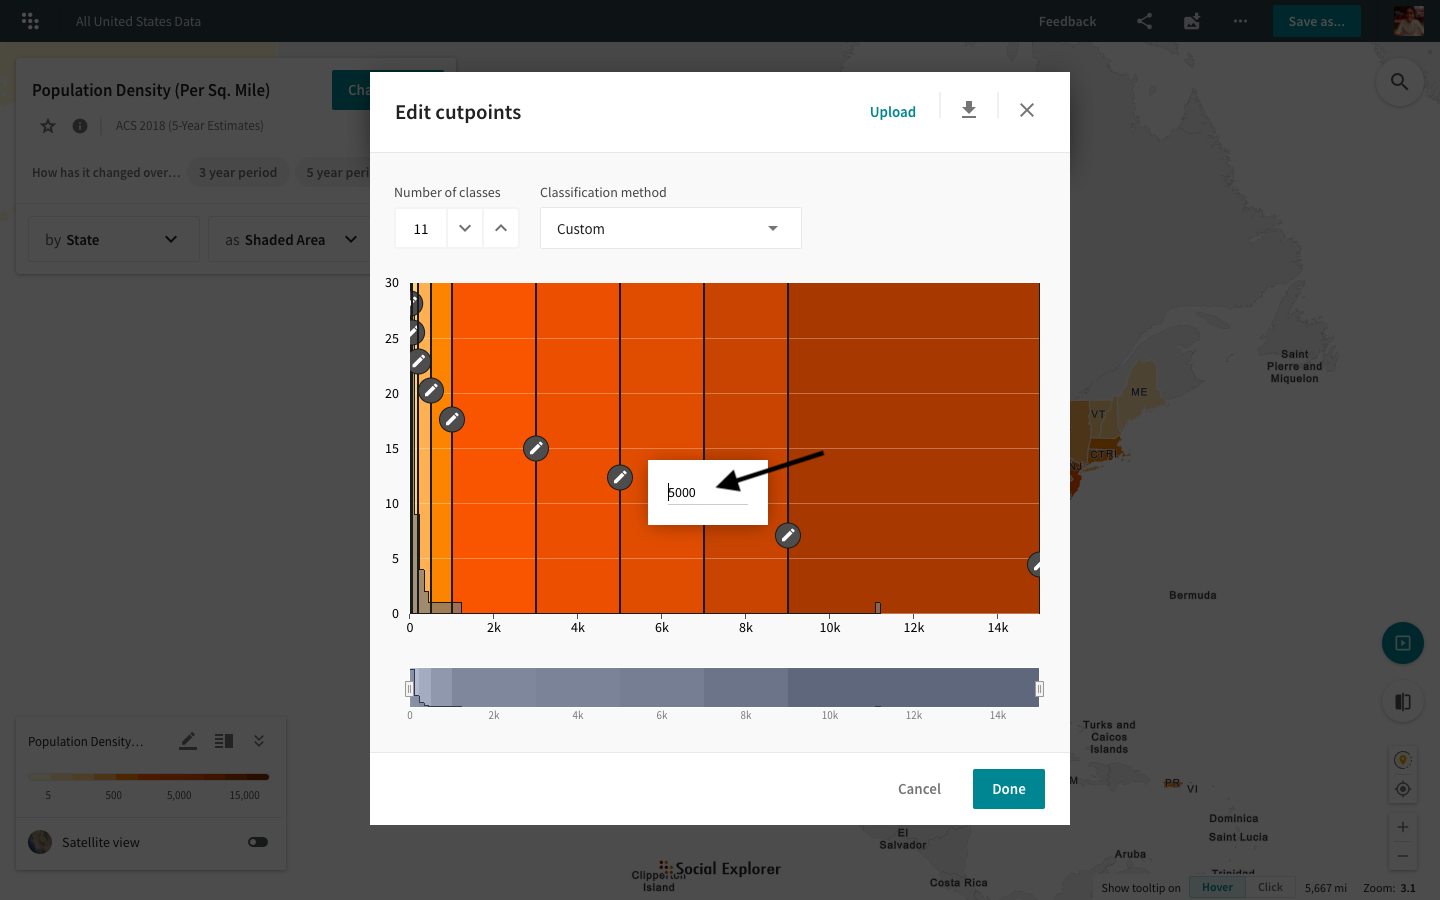
- Drag the sliders or click individual sliders to enter the exact numeric value.
- Click Done.
When using one of the algorithmic methods for computing cutpoints (like Jenks natural breaks or Quantiles), only the data that is visible on the map at that time is considered. Hence, these computations will depend on what's on the screen.
Learn more about cutpoints.
Upload custom cutpoints
- Click Change visualization type in the Change data menu.
- Select Cutpoints.
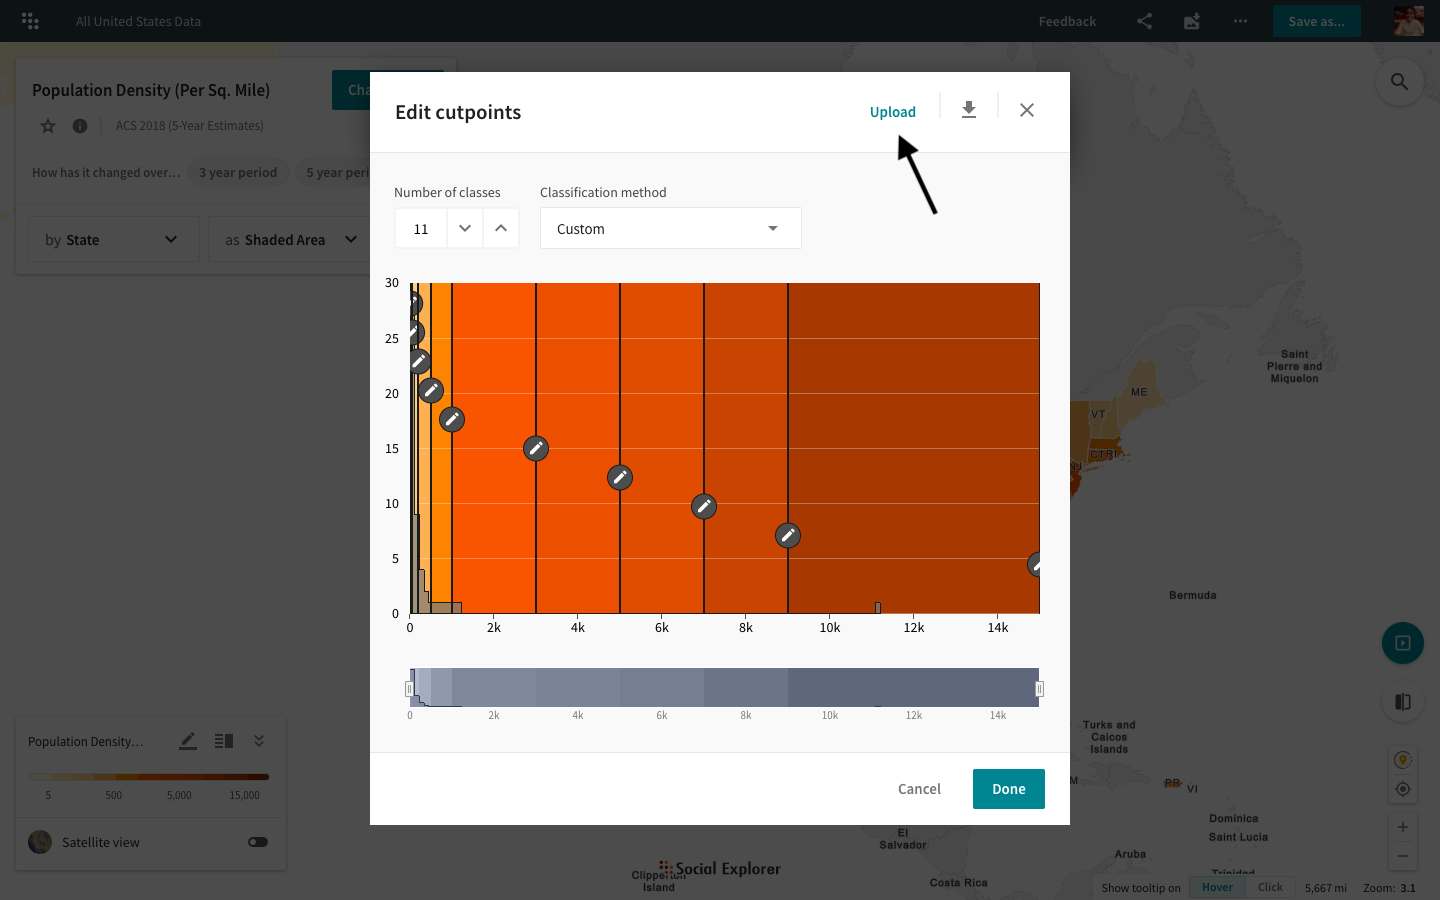
- To upload custom cutpoints, click Upload at the top of the popup window.
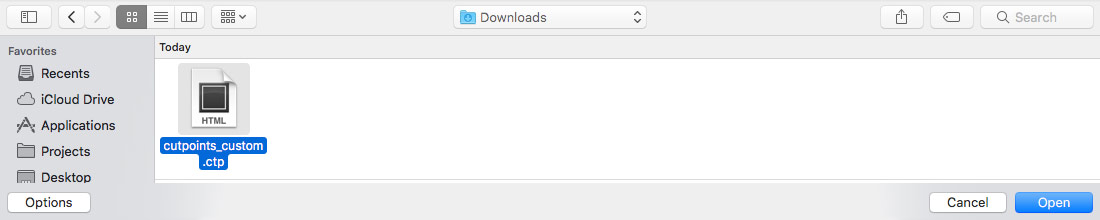
- Locate the file on your hard drive and select it.
- Click Open.
Download custom cutpoints
- Click the map legend.
- Select Cutpoints.
- To download the current cutpoints, click on the
icon at the top of the popup window.

Depending on your browser settings, you might need to select the folder where you want to save the file and click Save in the dialog box.

Right in the popup, there’s a master-detail slider that allows you to zoom in on a particular range. Simply drag the handles on the left and right side to mark the range you want to zoom in on and fine-tune the cutpoints. Learn more about customizing cutpoints here.